There comes a time in every crew’s life when they find themselves under way in miserably hot or cold conditions. Like many motor yachts, our 52-foot trawler-style vessel has reverse-cycle A/C and heat. They work very well, but they use enough power that they can only be run on shore power or with our 16 kilowatt Northern Lights generator running. Our 4 kW inverter will not start even a single unit along with the pump.
Many power cruisers, faced with this, will simply run the generator underway to be comfortable. To us, that seemed a waste just to cool (or heat) the pilothouse, where we both sit while underway. In addition to the extra fuel, it makes for a lot of extra maintenance. Our summer cruising plans for the Gulf Coast motivated me to solve this problem and find a way to cool the pilothouse under way using the excess power from our 2.5 kW engine alternator.
With no way to run the existing seawater unit without significant and expensive upgrades to electrical or plumbing systems, we took a different tack and chose to install a ductless mini-split heat pump, marketed as a more efficient alternative to whole-house air conditioning. These extremely effective high Seasonal Energy Efficiency Ratio (SEER) units are available in 120-volt and 230-volt models at many retailers. An additional advantage of installing such a system is that it can be used when the boat is on the hard, unlike the built-in system we already have.
We chose a 12,000 Btu/hr model, which was the largest system available in 120 volts, and had components small enough for us to mount in the limited space we had available. We selected the Pioneer brand; it was considerably less than $1,000, freight included, on Amazon.
Soft start unit
One key feature of this model (and many like it) is that it is a DC inverter system. The incoming line voltage is rectified to DC, which then feeds a high-frequency inverter circuit that in turn drives the compressor. This allows motor speed to be efficiently varied and allows for a “soft start” under software control. Without this feature, our inverter would have more difficulty starting the unit up. (Most units on the market also have a heat pump feature.)
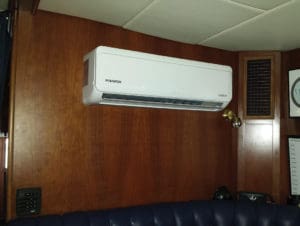
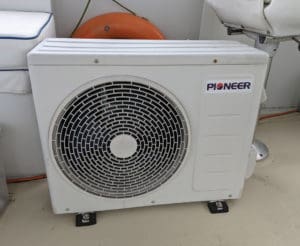
As the name implies, the system is split into two parts, connected by refrigerant lines. The smaller part goes inside the living space, mounted on the wall, near the ceiling. The larger part goes outside, and while an optional wall-mount bracket is available, it is generally intended to be bolted to a pad on the ground. Finding a suitable spot for this outside unit was one of the biggest challenges of the project.
We installed the inside unit on the forward-facing pilothouse wall, above a settee. We chose to install the outside unit on the flybridge deck, where it is protected by the coaming and under cover of the soft top. That gave the best odds of long life for a unit that is not marine rated, and also conceals the unit from almost every angle outside the boat.
Routing refrigerant lines
We next needed to determine how to get the refrigerant lines between the two. Routing the lines on the surface of the wall and up through the ceiling onto the deck was an option, and there are trim kits available. But with a galley cabinet on the other side of the wall, we opted to drill a 2.5” hole in the wall behind the unit for them to come out the back, for a cleaner finished look.
From this cabinet I was able to come up through the deck inside a flybridge settee, a little sheltered from the elements and also out of sight, with a convenient place to hide the excess refrigerant lines and cables.
Our upper galley cabinets are wall-mounted, with a gap between their tops and the ceiling, so I had to drill a hole in the top of the cabinet to match the one I drilled in the deck under the flybridge settee. I was able to run the condensate drain line down through the space inside the wall, and connect it to an existing condensate drain under our pilothouse settee.
We placed the outdoor unit just forward and inboard of a flybridge settee. In this spot all the air intakes for the unit are unobstructed, the settee is still fully usable, and the port helm chair can still swivel 360°. While large and perhaps a bit unsightly, the unit is at a convenient height to use as a cocktail table when using the settee, and we made a canvas cover for it when not in use. I drilled four holes through the weather deck for the mounting bolts.
I finished off the hole from the galley to the inside of the pilothouse settee with a 2.5-inch PVC fitting which I bedded into the deck with butyl tape. This deflects any rainwater that finds its way inside that locker. I also drilled a hole through the forward end of the settee to get the pipes and cables out to the outside unit, and this I finished with a 2.5-inch PVC 45 degree elbow, secured from the inside by cementing it to another fitting.
With these two holes perpendicular to each other and only about a foot apart, it was a bit tricky to get the pre-terminated 16-foot copper line set through both holes without kinking it. The line came coiled, and I uncoiled only enough from both ends to reach the respective terminations, then carefully worked both ends into their holes without disturbing the rest of the coil. It was a slow process to get the lines in without kinking them or damaging any of the pre-installed insulation.
The copper lines are pre-flared and have the flare nuts already installed, ready to mate to the flare fittings on the outdoor and indoor units. Pioneer even provided some flare sealant to put on the connections. I torqued them to just a hair above spec with a torque wrench; it’s really easy to damage copper flare connections if not careful.
Refrigerant included
The refrigerant for the entire system comes pre-installed inside the outdoor unit, which contains the compressor. After making the connections, I pressure-tested them with compressed air. This let me use a soap solution to check for leaks before I even evacuated the lines.
Evacuating the lines is perhaps the most challenging part of this project for the non-professional, and calling in an HVAC technician with a proper vacuum pump is an option. I chose to buy an inexpensive vacuum pump to do it myself.
My old style manifold gauges fit easily on the vacuum pump. But these newer R-410 systems use a different size fitting, and I needed an adapter, sourced from Amazon. Once evacuated, it’s a simple matter of opening the valves on the outdoor unit to charge the system.
I’m pleased to report the system works perfectly, in both cool and heat modes, and we’ve used it extensively for six years. It’s been a boon during haul-outs as well as underway. Our inverter easily starts it, even on batteries. And it is surprisingly quiet. It is still going strong, with the outdoor unit in its sheltered location holding up very well.
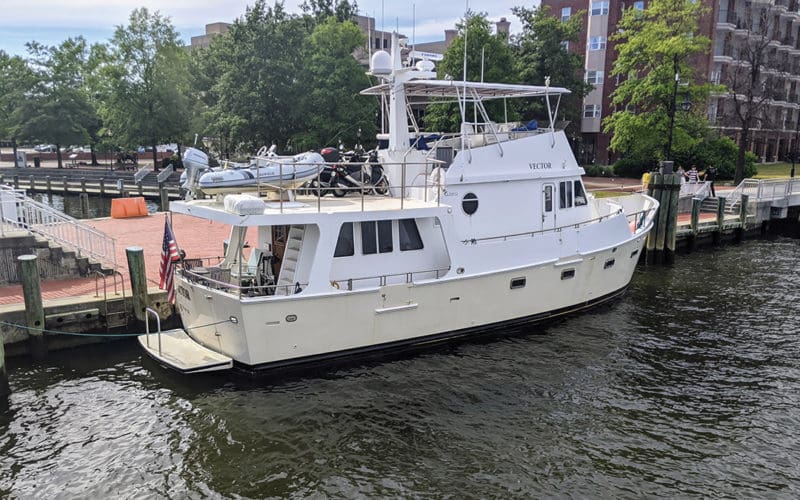
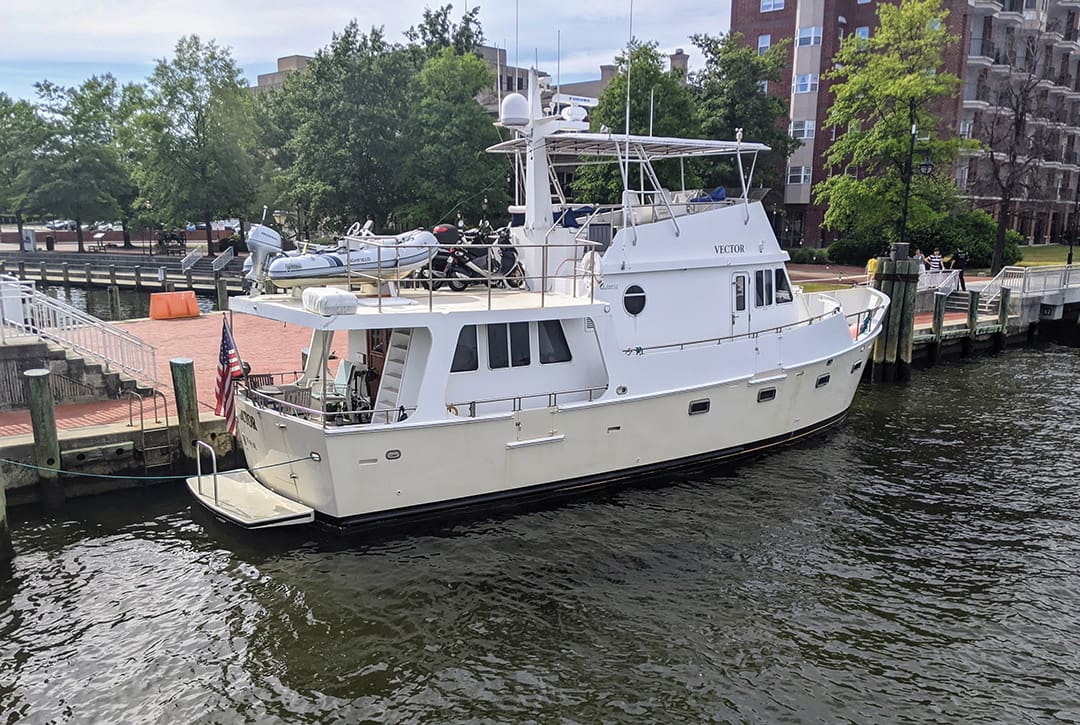
Sean Welsh is a licensed Master and full-time power cruiser who has lived aboard his 52-foot steel trawler, Vector, for the past decade with his wife, Louise. They have cruised 40,000 nautical miles around the eastern US, Canada, the Bahamas and the Turks & Caicos.