Among the most frequent advice to new boat owners is to start with clean fuel and keep it clean. Before leaving the dock for the first time have your fuel tanks cleaned/fuel polished to avoid engine failure due to clogged fuel filters.
In 2020 when we took delivery of our 2004 Nordic Tugs 32. We closed on Wednesday afternoon and departed the following Sunday morning, doing little to the vessel other than upgrading the anchor, changing the engine oil and filter and filling the diesel tank. Last year following a couple of bouncy passages on Lake Michigan, fuel starvation due to a clogged primary fuel filter made us determined to clean the fuel tank.
Why did we delay? Simple: no access ports on the 205-US gallon tank. In preparation, we spent many winter hours on the internet researching fuel tank cleaning and access ports. Access ports are available from several companies in sizes ranging from four inches in diameter upwards in either stainless steel or aluminum.
I have both the skills and equipment to fabricate my own access ports. However, you can also purchase commercially-available ports. If the process is not absolutely clear to you, hire a pro to do the job.

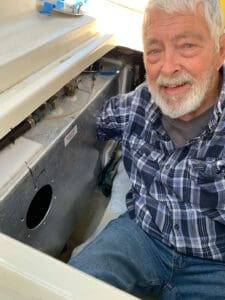
Unease as drilling begins
Drilling into a tank containing diesel fuel made me quite uncomfortable. I read widely and also asked numerous boaters and marina mechanics. They were unanimous in their opinion that it posed no risk of fire or explosion. Still, I’ll admit that my heart rate was above normal while drilling that first hole. NOTE: This is for diesel fuel tanks only! Drilling into a gasoline tank is absolutely forbidden.
We had drawn down the fuel to about ¼ full prior to winter, this lowered the fuel in the tank several inches below the lowest hole to be drilled.
The first step was to locate the baffles so that the access holes could be drilled midway between the baffles. By carefully tapping along the tank wall, the baffles were identified to within one-half inch of actual location. I held one access port cover against the tank wall mid-way between the baffles and eyeballed a reasonable location down from the top of the tank, then refined the location of the center of the access port to be five inches below the top of the tank. A felt pen marked the spot, then I center-punched a mark at that point and drilled a 3/16-inch pilot hole into the tank. Fuel-absorbent pads were placed beneath the area to be drilled to catch any aluminum chips and diesel fuel that might otherwise fall into the bilge.
The following details are based on a six-inch outside diameter, five-inch diameter bolt circle and four-inch access hole in the tank wall. (I previously confirmed that I could get my arm up to my armpit through a four inch hole!) If you chose to use larger access ports, scale up these dimensions accordingly.
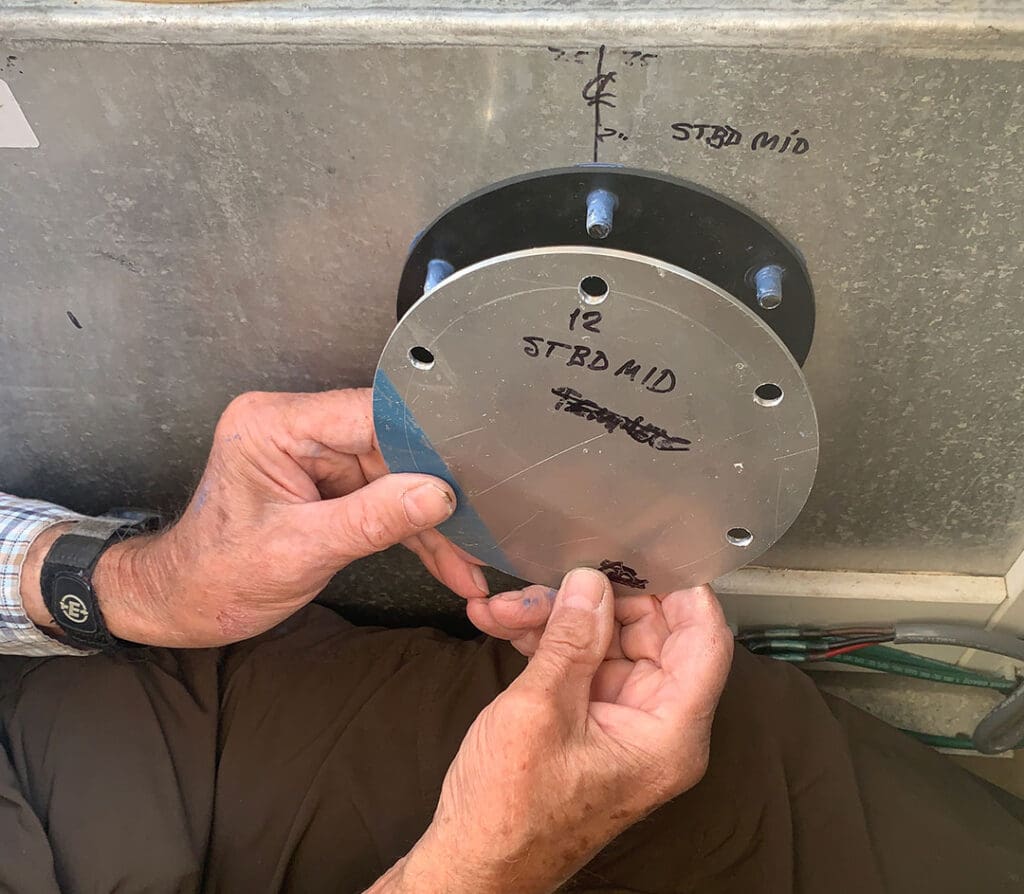
I made an aluminum template to aid in accurately locating the bolt holes. It has a 3/16-inch hole drilled in the center and six equally spaced 5/16-inch bolt holes on a five-inch bolt circle. Holding the template in place with the 3/16-inch drill bit, I used a 5/16-inch transfer punch to mark the first bolt hole at the 12 o’clock position. A 3/16-inch pilot hole was drilled to improve accuracy and then enlarged to 5/16. A 5/16 x 1-inch bolt was inserted into the template after each hole was drilled to hold the template in place while the remaining bolt holes were drilled.
The six 5/16-inch bolt holes were deburred and very lightly countersunk to aid in assembly. A four-inch diameter hole saw easily opened the access hole, followed by a half-round file to smooth the edges of the hole. This process was repeated for the remaining access ports.
Getting the last of it
Using the marina’s fuel polishing pump the tank was pumped as dry as possible, followed by a hand transfer pump to remove the remaining diesel. A large quantity of paper towels were used to wipe down as much of the tank interior as I could reach. Most of the accumulated crud was removed with the diesel fuel, making an easy job of removing the remaining crud and aluminum chips created by the drilling and sawing. Luckily, no corrosion was noted.
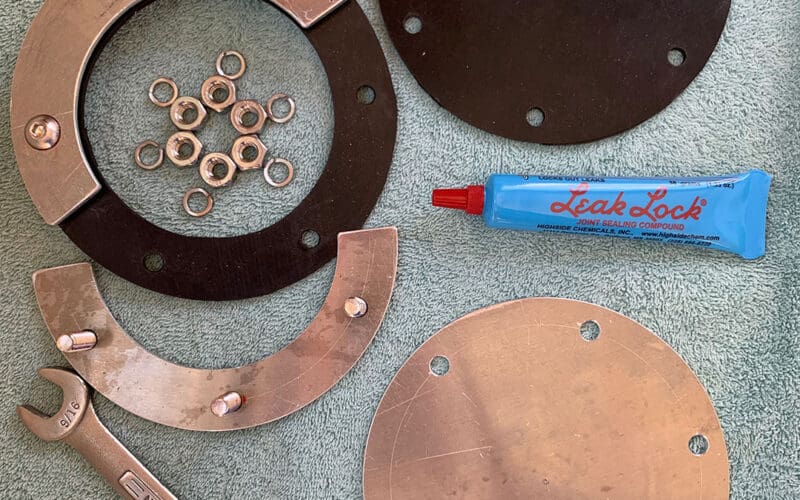
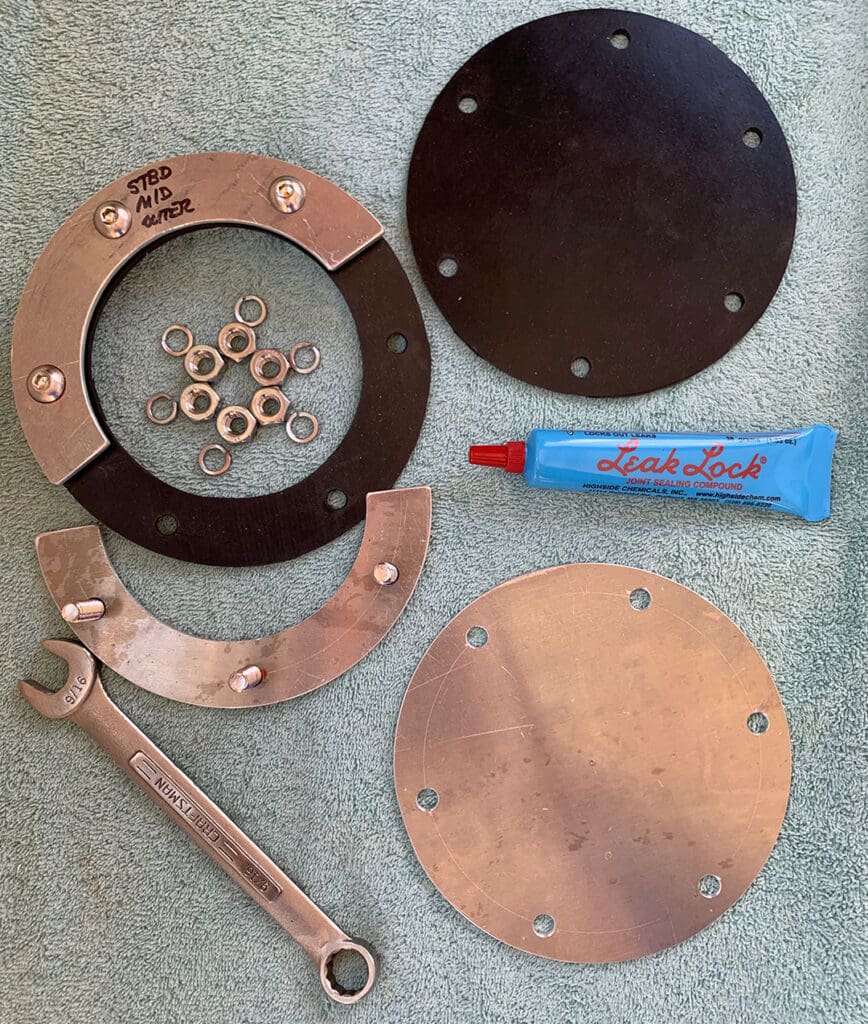
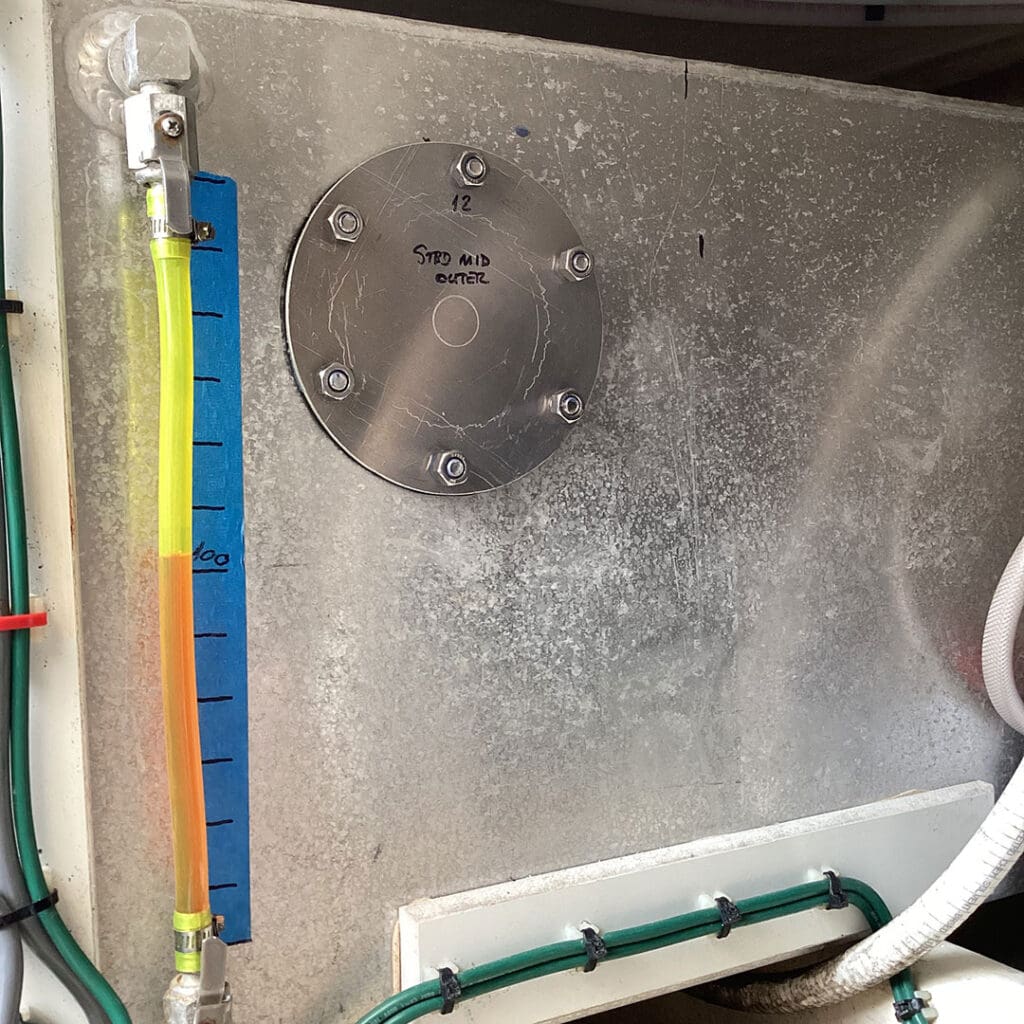
The access ports are machined from 1/8-inch thick T5051 aluminum and the gaskets are made from 3/32-inch thick BUNA-N (known by the trade name of Viton). No sealant is applied to the aluminum parts or to the two gaskets. The bolt threads are coated with Highside Chemicals Leak-Lock to prevent the diesel fuel from weeping along the bolt threads.
The access port inner parts and gasket were then assembled with the six 5/16 x 1-inch stainless steel bolts, then folded in half and inserted into the fuel tank. Once the six bolts were fully exposed on the outside of the tank, the outer gasket was fitted over the bolts. A pair of locking pliers was used to gently grip the bolts while the outer gasket was positioned against the outer tank wall.
After the bolt threads were coated with Highside Chemicals Leak-Lock, the access port cover was installed using lock washers and nuts. The nuts were very carefully tightened to avoid crushing the gasket. Watch the edge of the gasket and stop tightening when the gasket material shows the slightest amount of bulging.
Bonus: If your diesel fuel tank has a sight glass (a length of fuel-resistant PVC tubing) level gauge, now is the time to replace the tube while the tank is empty. n
Harry Hungate and Jane Lothrop circumnavigated 1997-2012. They’re now cruising the Great American Loop on Bessie, a Nordic Tugs 32.