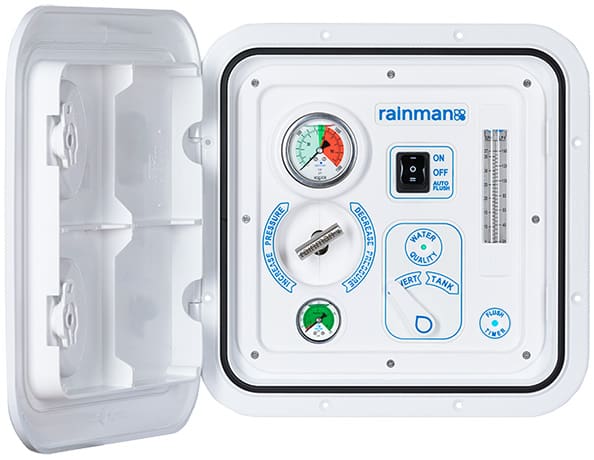
A couple years ago a friend of mine asked me to deliver his 50-foot boat from Florida to the Bahamas just before Christmas. The idea was for him to fly in with his family and spend a week cruising around without having to worry about crossing the Gulf Stream. I happily went to Florida to pick up the boat and bring it across.
When I got on board and realized that he was going to spend a week with his family of six in the islands with only 100 gallons of water, I told him he definitely needed to consider installing a watermaker. He handed me his credit card and told me to deal with it. Since we were leaving in a couple days I only had one realistic option: the portable Rainman. Since I had heard nothing but rave reviews for the Rainman, I eagerly plopped down $4,500 of his money on the 110 volt “compact” model and loaded it on board.
When I got to Nassau I simply plugged it in and within a couple minutes it was producing beautiful pure water. The next day when he and his family arrived I showed him how to use it (he is somewhat technologically challenged). Then I flew back to Florida to wait for the return trip.
He called me a couple days later raving about the Rainman. “This thing is an absolute game-changer,” he gushed. “My wife and both girls all took loooong showers and I didn’t have to worry about water at all. That watermaker is so easy to use! I can’t believe I didn’t have one of these before!”
Since then he has gone on week-long cruises with his family, something he never would have considered before the watermaker. By simply adding a $5,000 accessory to his million-dollar yacht, it became a long-range cruiser rather than a dockside cocktail vessel.
Of course, the Rainman is a portable unit, which makes it very simple to install and repair. To use it you need to set it up (five minutes) and monitor the hoses that go into the ocean as well as into your water tank. Portable units are generally more suited for occasional use on smaller boats or as a backup on larger ones.
The obvious advantage of a portable watermaker (more properly called a desalinator), is that it can be stored virtually anywhere while most units are permanently installed. The installed units tend to be much larger and heavier, but of course they can produce much more water much faster.
Key questions The primary questions when buying a watermaker are: What kind of volume do you need (GPH)? What is your budget? What are your power options? How much space do you have?
After you have answered the above questions it’s time to plan where you will mount your unit. The issues of installation and maintenance are actually quite entwined. A poor or ill-conceived installation will be more difficult to maintain and will probably need more maintenance as well.
Finding the best location for a watermaker can be a real compromise. It can’t be anywhere that might freeze, or get too hot, or not have enough room around it for easy maintenance. It needs to be in a location convenient for the incoming water source, the brine discharge, and the supply line to your water tank(s). Ideally it needs to be somewhere that you can get to quickly and easily so you can monitor its operation as well as change filters, remove and rebuild pumps, and make repairs.
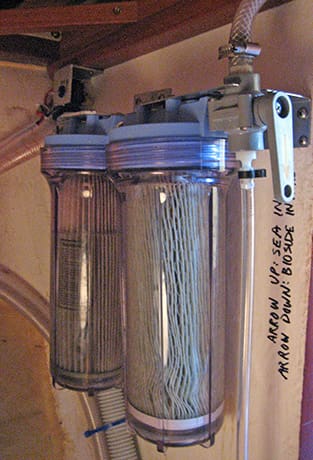
On a big boat this usually isn’t a problem (although I have seen big, expensive watermakers installed in the worst possible places on 100-foot yachts). On smaller boats (less then 50 feet), finding the proper location that fulfills the combination of criteria can be quite difficult. Many times the different parts (lift pump, pressure pump, pre-filters, membranes, pressure gauges, valves) are installed in different locations. This has the advantage of not having to find one perfect spot for the entire unit but the wiring and high-pressure hose runs need to be carefully planned.
When planning your installation keep the following in mind:
• This is a high-pressure water system. Put it somewhere so that if there is a problem, it won’t flood your boat or damage any nearby electrical components.
• If the main pressure pump is more than 12 inches above the water line you will need to install a small lift pump (and accompanying valves and raw water filter) below water level to get the water up to the system.
• You don’t want your watermaker placed where the temperature will be above 120 degrees or in an unventilated, damp or humid location or the electrical components will corrode and may be damaged.
• Be sure to allow enough room to easily inspect and change the pre-filters.
• Remember that to inspect or replace the membrane(s) you will either need enough room to remove the end cap and slide out the membrane (meaning you’ll need twice the length of the membrane case) or you’ll need to remove the entire assembly (not fun to do).
• Installing a series of valves throughout the system makes it easier to do routine maintenance without disconnecting hoses and making a mess.
• If you’re installing a 12 volt or 24 volt system you’ll need a separate 10- or 20-amp breaker in your system; when the watermaker starts up it can pull a LOT of power.
• If it’s DC, you’ll want as short a power line run as possible, and be sure to use the correct (or oversized) wire size.
• When attaching the main pump to a hard surface (such as a bulkhead), use at least one-quarter-inch thick rubber vibration dampening washers to reduce noise
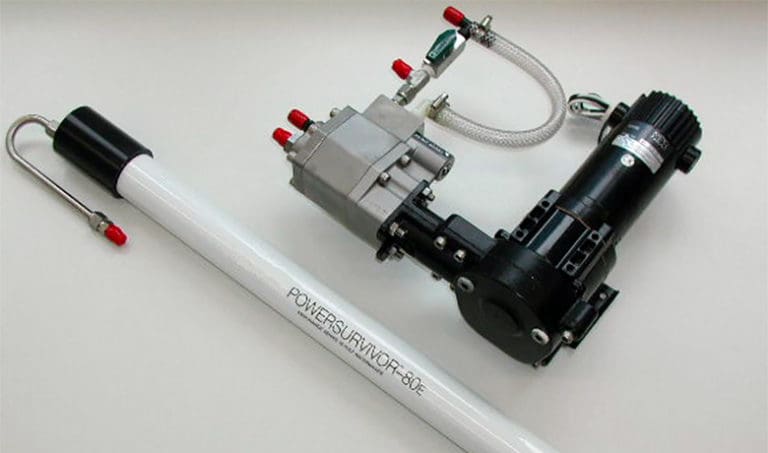
Some firsthand experience My first boat came with a Pur PowerSurvivor 80E (now manufactured by Katadyn), a 12 volt unit that produced four gallons per hour. It was a compact, simple unit with one membrane that supplied just enough water to keep the tanks on my 42-foot sailing cat topped off. Instead of a salinity probe (to test the water quality), there was a two-way valve on the outflow; one way led to a small sink valve where I could taste the water before turning the valve to allow the product to go into my water tank. Simple, if not precise.
The entire thing was installed under one of the bunks, so while it was out of the way and in a dry space, I had to tear the entire bed apart to check the filters, pressure and pump functions every time I used it. To change the membrane, I had to disassemble the entire unit.
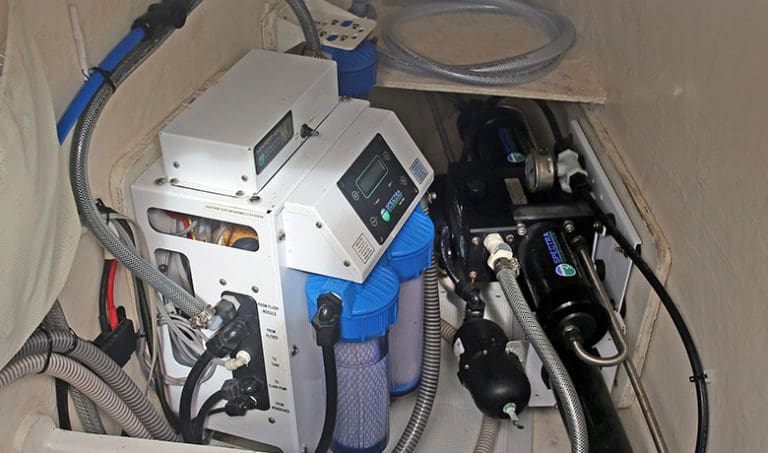
In my next boat (Leopard catamaran), a Spectra Newport was installed in the forward bow locker. This was potentially a good spot except that again there was no way to remove or change the membrane without disconnecting all the parts and hoses and unbolting the entire system from the mounting plates. In addition, the system had a sophisticated circuit board that controlled the automatic flushing program (every five days), salinity probe, and remote control panel. Being installed in a very damp and warm environment meant that I had to replace the circuit board ($1,500) twice over five years when it corroded. And finally, the bundle of hoses and connectors needed to operate, clean and flush the system was crammed into what turned into a very small space once I had performed my daily boat yoga to lower myself into the locker in order to work on the watermaker.
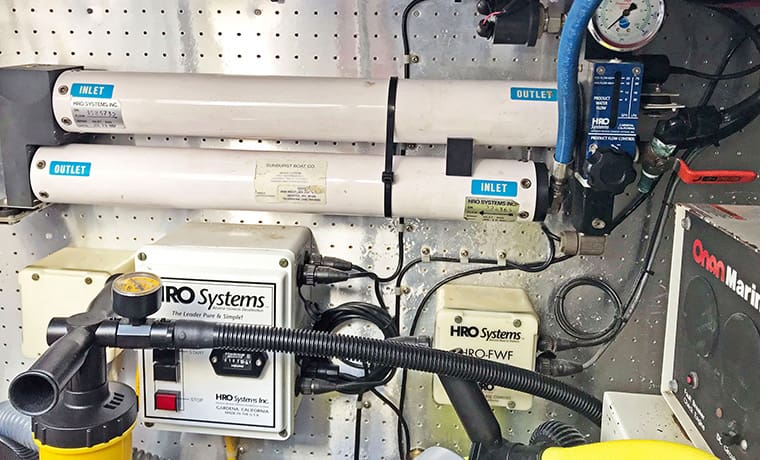
My latest boat has a large system made by HRO that is spread throughout the lazarette since there realistically wasn’t enough room to put it all in one place. The high-pressure pump probably weighs 35 pounds by itself, and there are two four-inch-long membrane tubes attached to the forward bulkhead in the lazarette. While there is a remote panel in the pilothouse, I always prefer to run my watermaker from the unit itself where I can see and hear the system start up and run; it’s easy to nip a potential problem in the bud that way.
A friend has an Ultra Whisper by Sea Recovery on his 42-foot sailboat which he claims is one of the most energy efficient watermakers made. He installed his system under a cockpit seat where he can easily get to it. Of course, there is always the temptation to pile things on top of it (life jackets, lines, fenders). Doing this can damage or break any fragile parts or connections and introduce worrisome moisture into the installation.
Maintenance considerations There are just a few things to keep in mind when maintaining your watermaker.
• Check the filters every time before running the system and every hour if making water in dirty or in sea water with a heavy growth of seaweed or plants.
• Flush the system with fresh water for at least five minutes after using.
• NEVER use chlorinated or tap water to flush the system; always use the fresh desalinated water. Chlorine can ruin the membrane.
• If you don’t have an automatic self-flushing system (usually every four to five days), be sure to run the watermaker at least once a week.
• If you won’t be on the boat or using your watermaker for more than a couple weeks, be sure to pickle it according to your watermaker instructions.
• Check for leaks in the pump or hoses every time you run it.
• Be sure your intake raw water strainers are clean.
• Check your water quality periodically with a hand-held salinity meter ($20 on Amazon) to make sure the unit is delivering quality fresh water.
• Check your electric connections periodically if the unit is located in a humid environment. Keep all connections dry and use a little dielectric grease on all connections when installing the system.
If you are heavily dependent on your watermaker you’ll want to have a spare parts kit on board, consisting of filters, hoses, clamps, possibly a pump rebuild kit and a spare salinity probe. I had to rebuild my Katadyn system once when some of the O-rings started to fail. So, I got out the manual which said it was an easy chore that only needed a wrench, pliers and a couple screw drivers in addition to the $50 rebuild kit. How hard could it be?
Carefully following the instructions I removed around 20 O-rings of various sizes. That’s when I discovered that the O-rings in my rebuild kit were all together. There was no way I could tell them apart; but according to the instructions, they were all different.Luckily, on the boat next to mine in the middle of the Sea of Cortez was a Katadyn tech who answered my VHF call.
If you don’t have a technician nearby, following the cleaning and maintenance instructions that come with your system is the best way to keep it running efficiently. A watermaker is indeed a game-changer for a cruising boat and has likely saved several marriages as well.
Eric Sanford is an experienced voyager based in the Pacific Northwest.
